Experiencing black screens or compatibility issues with Epic/GOG games? Changing your Proton version often fixes these problems. This guide shows you how to check your current Proton version and switch to a different one to improve game compatibility in Junk Store.
⚠️ Prerequisites: You need Junk Store and Wine Cellar plugins installed via Decky Loader, plus some Proton versions already installed.
When Do You Need to Change Proton Versions?
If you experience any of these issues, try a different Proton version:
- Game shows a black screen then closes
- Game won’t launch at all
- Game crashes immediately
Recommended Proton Versions
- GE-Proton versions are generally recommended over standard Steam Proton
- Don’t always update to the latest release - we find a stable version and stick with it
- Test before upgrading - newer isn’t always better for game compatibility
- Keep 2-3 versions installed so you can switch if one doesn’t work
💡 Pro Tip: Check ProtonDB.com or our Games Tested page to see what works best for your specific game.
Prerequisites: Install a Proton Manager
You’ll need a tool to download and manage different Proton versions. You have two good options:
Option 1: Wine Cellar (Recommended for Game Mode)
- Decky plugin - works directly in Game Mode
- No Desktop Mode needed for downloads and management
- Requires restart after installing new Proton versions
- Installation: Search “Wine Cellar” in Decky Plugin Store
Option 2: ProtonUp-Qt (Desktop Mode)
- Desktop application - download from Discover Store
- Must use Desktop Mode to install new versions
- No restart required - updates apply when returning to Game Mode
- Search “ProtonUp-Qt” in Discover Store
✅ Why use either? Junk Store creates separate prefixes for each game, so you can use different Proton versions per game.
Quick Links:
Method 1: Change Proton Version in Junk Store
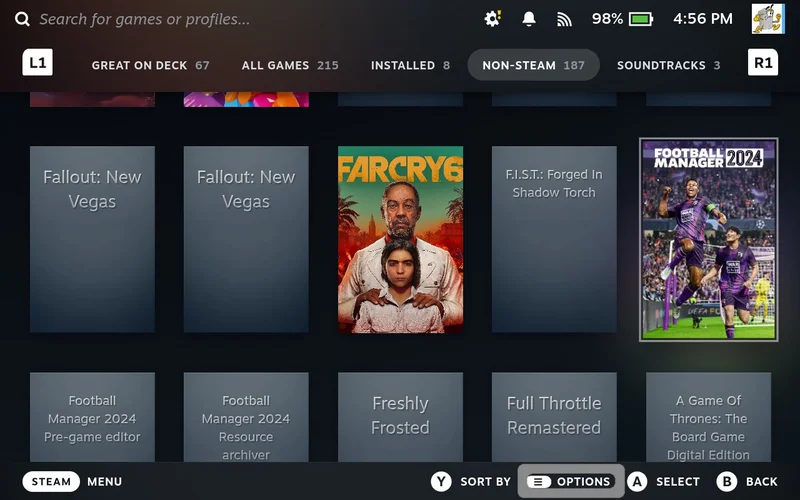
Step 1: Open Your Game in Junk Store
Start from the game screen inside Junk Store (not Steam library).
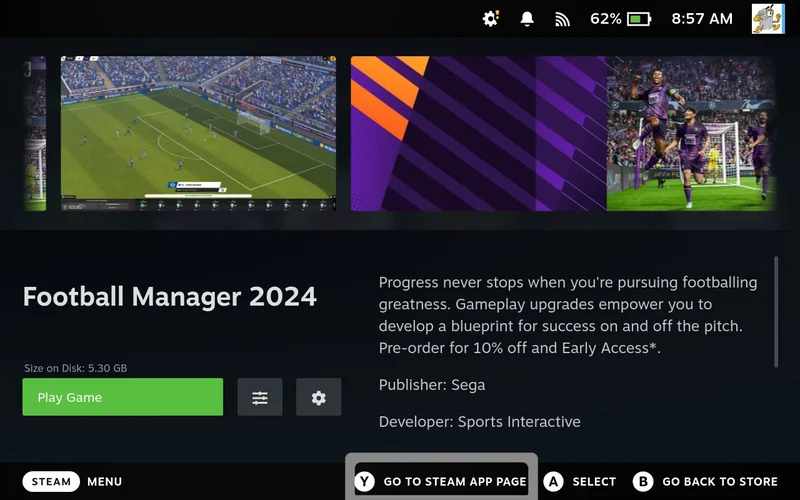
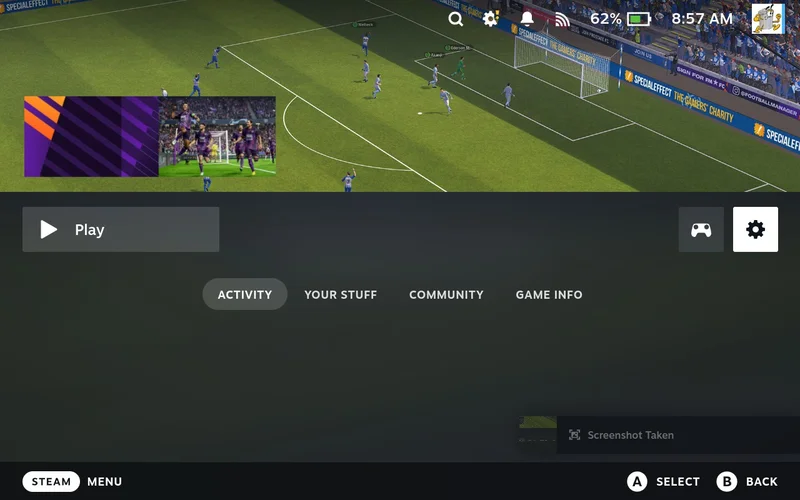
Step 2: Access Steam Game Properties
- Press Y to go to Steam’s game page
- Navigate to the gear/cog icon
- Press A to select
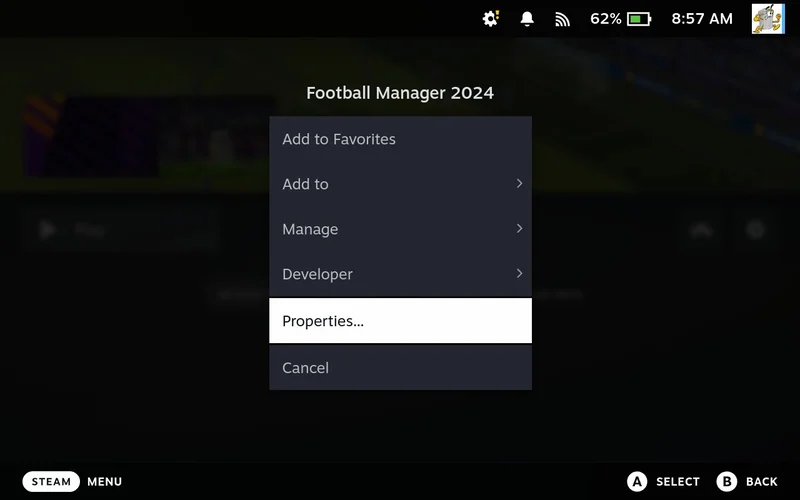
Step 3: Open Properties Menu
- Select Properties from the menu
- Press A to confirm
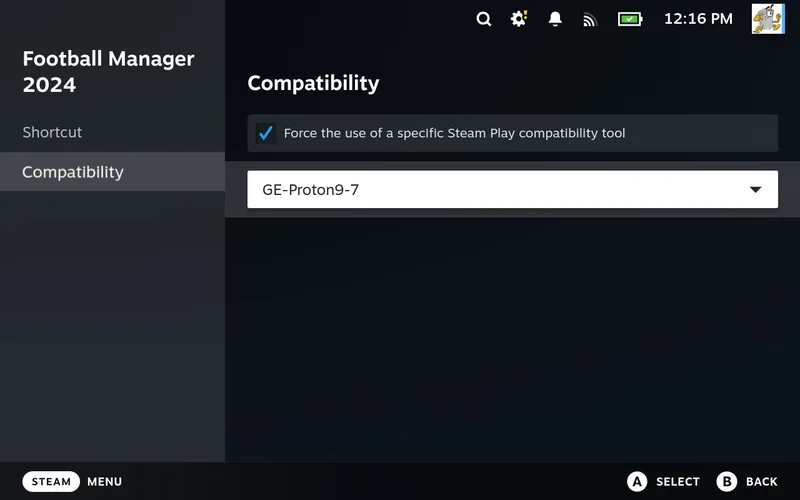
Step 4: Navigate to Compatibility
- Go to the Compatibility tab
- This is where you’ll find Proton settings
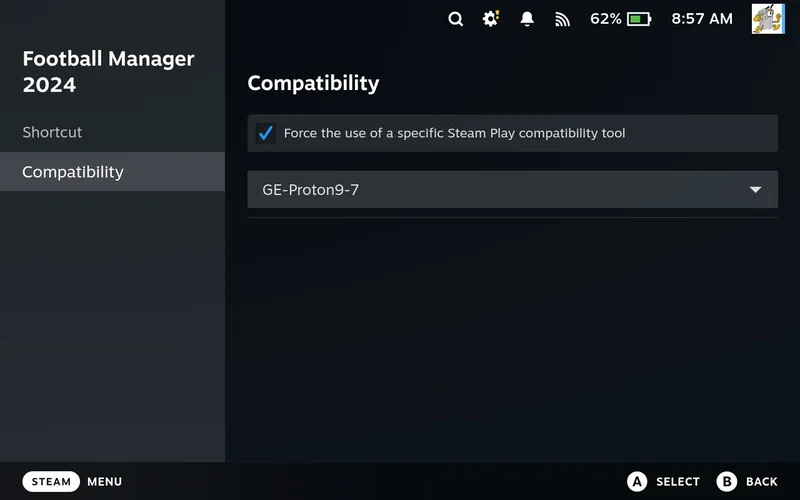
Step 5: Select Proton Version
- Navigate to the Proton dropdown menu
- Press A to open the list of available versions
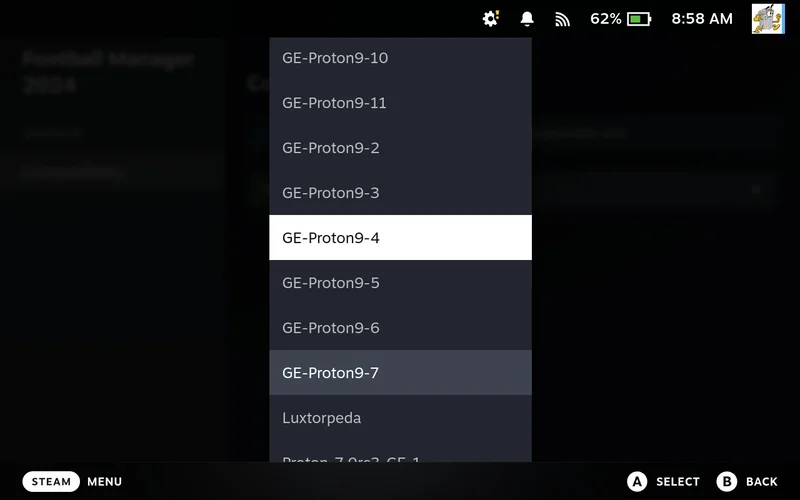
Step 6: Choose Your Version
- Select the Proton version you want to try
- Press A to confirm
- The setting is automatically saved per game
✅ Saved Settings: Your Proton choice is remembered for this specific game, even after rebooting.
Method 2: Change via Steam Library
You can also change Proton versions directly from Steam’s library:
Quick Access Method
- Find your game in Steam Library
- Press the Start/Options button (hamburger menu)
- Select Properties

- Follow Steps 4-6 from Method 1 above
Ready to Play!
Once you’ve selected your Proton version:
- Back out to the game screen
- Press Play to launch with the new settings

Troubleshooting Tips
- Game still won’t work? Try a different GE-Proton version
- Need more versions? Use Wine Cellar to download additional options
- Unsure which version to use? Check our compatibility database
Need More Help?
If you’re still having trouble: